This week I successfully set up five Raspberry Pi devices at home: 3 Pi Zeros, 1 Pi 400, and 1 Pi original. Plus I have two old C.H.I.P. computers that work. I had struggled with using them in the past, but this time it was a breeze due to the lessons I’ve learned. Here’s some of these lessons:
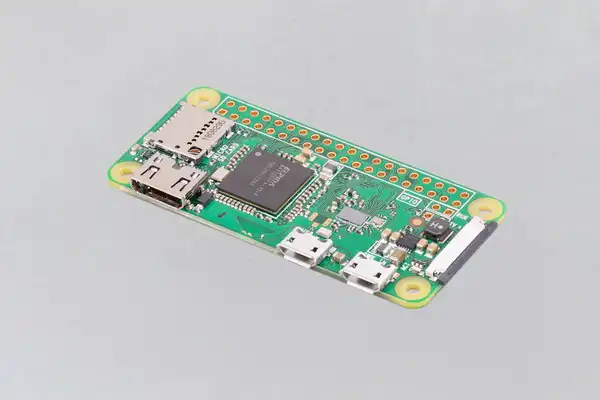
Get wireless ones: I originally had Pi Zeros and Picos without wireless capability. And that can be fine if you know you don’t need it. But it is helpful to be able to have them communicate wirelessly and it gives you more flexibility, even if it costs a few more bucks.
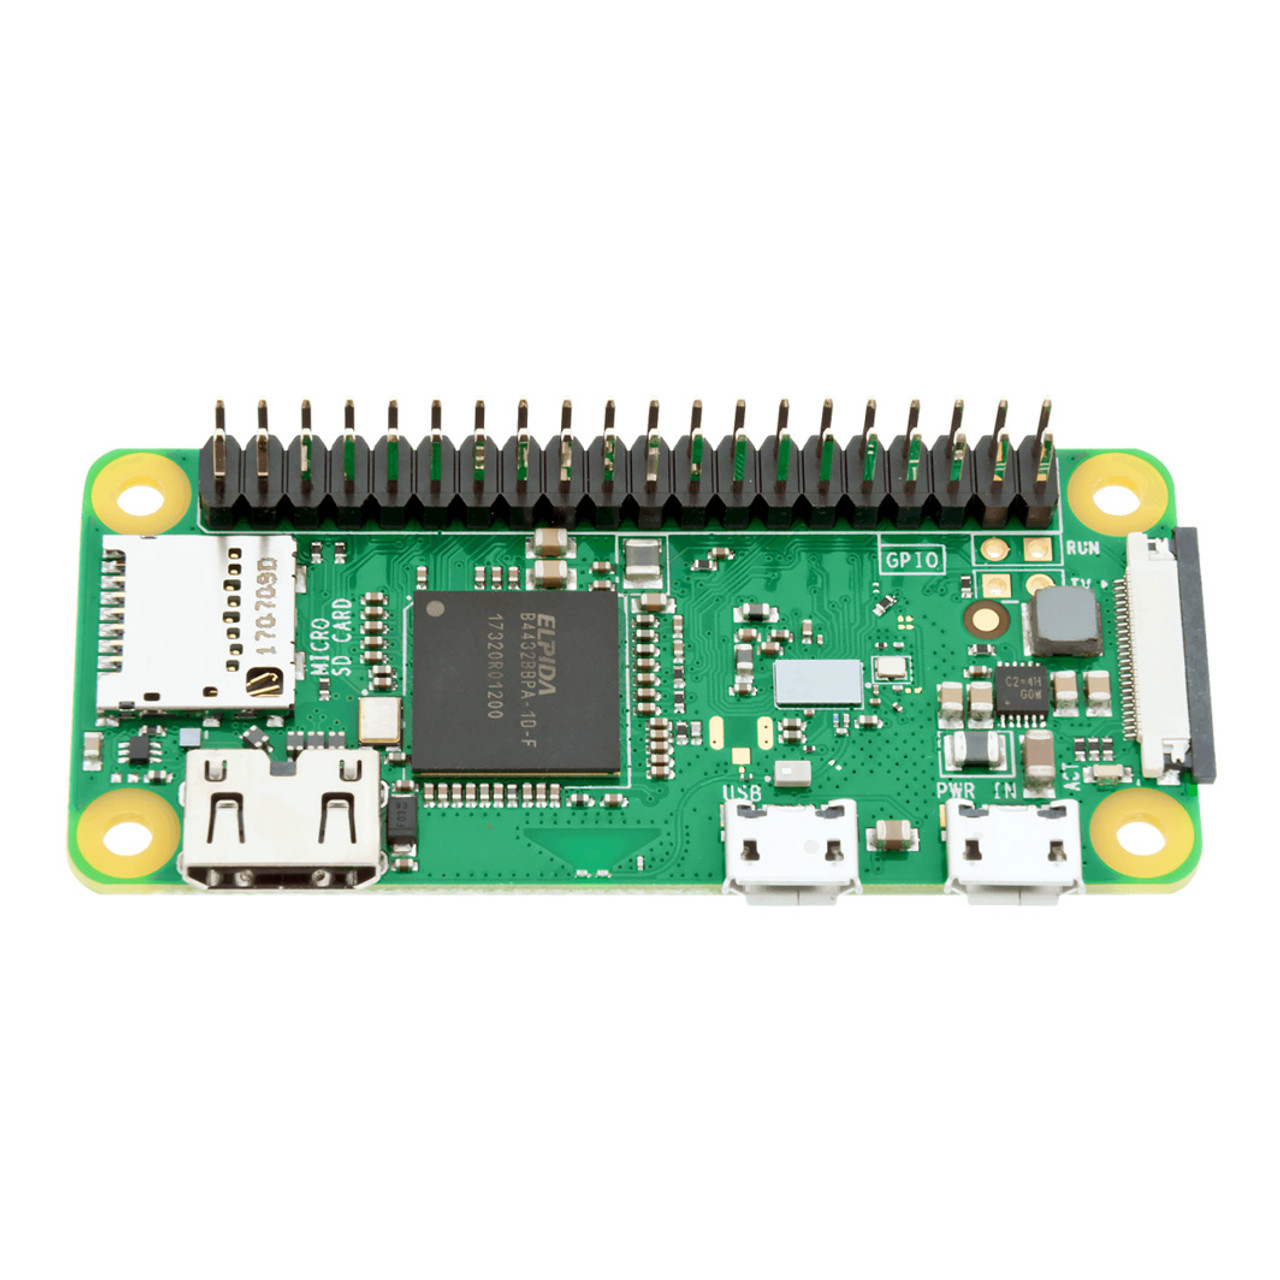
Get headers: again, I had some Pi Zeros and Picos without headers. Unless you are good with soldering, get the ones with headers. It just makes it easier physically connect them to other technology. The Pi Zero above has no headers, the one below does.
Keep track of all the connectors you need and kept them handy: With the Pi Zeroes, I have a set of adapters that allow me to connect it to power, USB and HDMI. Once I have it set up, I just need a cable to provide power and I run it in headless mode (which I can do because of wireless). I have a special box for all that stuff so I can easily find it.
Give your Pis unique hostnames: if you are going to be connecting to them via ssh or scp, then give them a unique host name. You can do this when you set them up. What’s nice about that is once they connect to the wireless network, I can easily identify them. For example, I can ping pizero1 or I can ssh myuserid@pizero2 versus trying to find out their IP address of 192.168.0.??
Designate a machine for setting up the Pis: for me, I have a Pi 400 that I use to program the Picos. And I have a Ubuntu machine to format the SD cards. But you do what works best for you.Having a consistent environment means when you run into problems, the problem is likely not with your environment but with the SD card or the Pico.
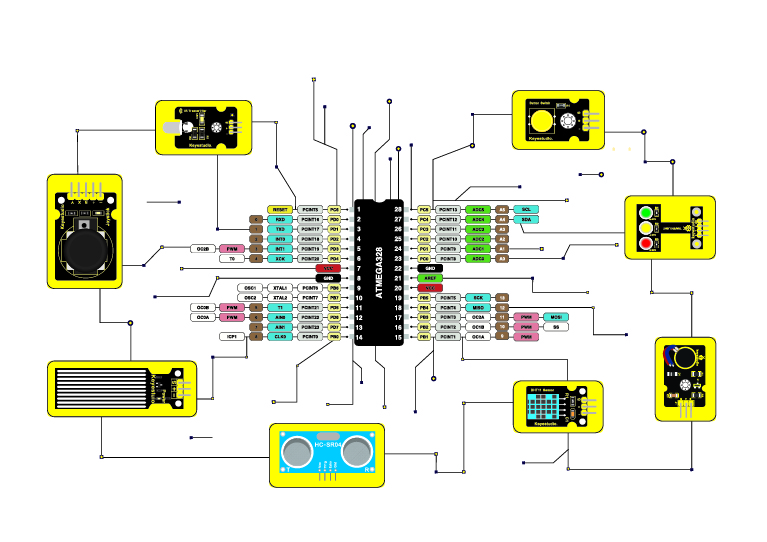
Avoid obsolete or tricky technology: in the past I got discouraged by trying to get old or tricky technology to work. I had old dongles that gave me errors when trying to build the SD cards properly; I had old unsupported Digispark devices that would not work at all; and I had some Adafruit devices that were cool but the path to success with them was challenging. In the future, I am sticking with tried and true technology from Arduino and Pi. Don’t make working with such devices any harder than it has to be.
Get cases for your Pis: if you are going to use them on the regular, get a case. Even a cheap case make it look like a finished and working device and not some hack. Not only does it look better, but it will likely work better (i.e. the cables will not move around and lose a connection). And make sure the case you get is made for your device so it will fit properly.
Document as you go: keep some log of what worked and what didn’t. Take photos of successful set ups. Save all the good web sites that helped out. Better still, blog about it. (If you search this blog for “raspberrypi” you will find the things I have found and written about.)
Good luck with your projects. May they go smoothly.