
I’ve been doing work in a number of areas recently: IT architecture, Azure, Kubernetes and more. As I do that, I collect a number of links, which I have below. As well, I put together some Raspberrry Pi links, because I love my Pi. Also DOOM because I will always click on a DOOM link. Lots of good material. Let’s review!
IT architecture: I’ve been thinking much about IT architecture these days, and I’ve been writing about it here: BLM on IT. One thing that helped me think about it was this: 5 diagrams you need to document your solution architecture. This is also helpful: Editable architecture diagram resources: IBM IT Architect Assistant. In addition, something on DDD: Apply Domain-Driven Design to microservices architecture.
Devices: These two pieces are on new trends in devices: Dell envisions a sustainable laptop allowing you to replace parts creating a design you could grow old with and Lenovo ThinkBook Plus Gen 3 Laptop.
On the other hand, we have this: BlackBerry phone with keyboard is not dead. Remember netbooks? They were great little devices. Here’s a piece on them: Netbooks: The Form Factor Time Forgot.
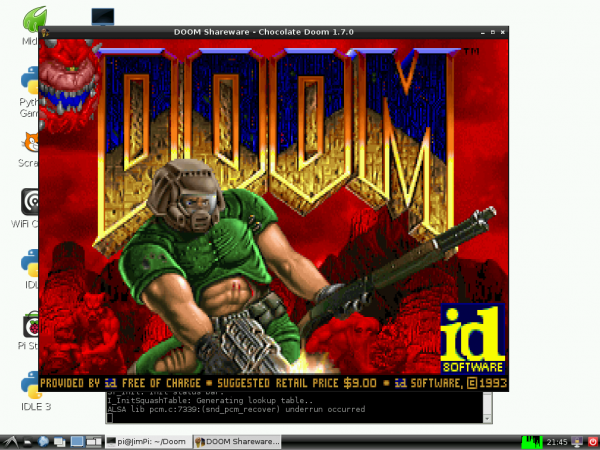
Cool: Here’s something fun: The Best of 404PageFound and Other Primitive ’90s Websites That Still Exist. I love DOOM, so: Is this one of the smallest playable DOOM devices? and Pocket-Sized Doom Is Actually Playable. Speaking of small things, we have this, A VM in your browser, this Writing a simple 16 bit VM in less than 125 lines of C and this System/360 simulator. Also this: CHUNGUS 2 – A very powerful 1Hz Minecraft CPU.
Raspberry Pi: for Pi fans, here’s some good links:
- Part 1: Designing A PCB And First Prototype Enclosure
- How to Use an OLED Display With Raspberry Pi Pico (Updated)
- Setting up SSH Keys on the Raspberry Pi #piday #raspberrypi @Raspberry_Pi
- Connect and Program An OLED Stats Display For Your Raspberry Pi
Cloud and DevOps: here’s some things I found worthwhile in that space
- A Gentle Introduction to AWS Lambda – Matt Bacchi
- AWS outage: Our bad admits Amazon albeit vaguely
- Cloud Services at the Edge
- IBM Cloud Solution Tutorials: 2021 in Review
- A collection of example artifacts to demonstrate common techniques on IBM Cloud
- DevOps Checklist
- What is DevOps?
IBM: Here are two good initiatives my employer is providing: Good probono program from IBM to help environmental groups and A good initiative from IBM to help on the matter of Racial Justice.
Azure: I have been doing tons of research of Microsoft’s Azure and so I have many links on it here. Enjoy!
- CLI: Deploy an app from GitHub – Azure App Service
- Use Azure CLI to share Git code – Azure Repos
- Enterprise deployment using Azure ASE – Azure Reference Architectures
- Microservices with AKS – Azure Solution Ideas
- Configure continuous deployment – Azure App Service
- az repos
- Windows Azure Websites online tools you should know about
- Azure CLI Samples for Azure App Service – Azure App Service
- Build and deploy to a Java web app on Linux – Azure Pipelines
- Quickstart: Create a PHP web app – Azure App Service
- Microservices architecture on AKS – Azure Architecture Center
- Baseline architecture for an Azure Kubernetes Service (AKS) cluster
- Azure Architecture
- Create management groups in Azure
- Microsoft Azure Resource Groups: Introduction & Best Practices
- Control access to cloud resources by using Azure role-based access control
- Azure Quickstart Templates
- Azure Resource Manager templates for App Service
- Configure Azure Firewall
- Run a custom container in Azure
- Create App Service Environment v2 with an ILB Address
- Azure Application Architecture Guide
- Control access to cloud resources by using Azure role-based access control
- Elastic and Microsoft Azure: Unified Observability for Spring Boot applications
- Rightsize to maximize your cloud investment with Microsoft Azure
- Enterprise deployment using App Services Environment
- Migrate custom software to Azure App Service using a custom container
Kubernetes: I have been doing some Kubernetes work too which lead to these links in
- Flexible CI/CD with Kubernetes Helm Traefik and Jenkins
- Migrate your workloads from Kubernetes to OpenShift: Image and PSP migration
- Kubernetes in three diagrams
- Kubernetes recipes: Maintenance and troubleshooting
- Use Kubernetes-based infrastructure services with IBM Cloud
- Kubernetes 1.23: The Next Frontier
- Getting started with scalable web application on Kubernetes
- A Practical Guide to Kubernetes Logging
- Logging Architecture
- The state of cloud-native development: Kubernetes is on the rise
Finally, here’s some other useful links I didn’t want to lose:
- Intel to Enter Bitcoin Mining Market With Energy-Efficient Hardware
- Day 0/Day 1/Day 2 – the software lifecycle in the cloud age
- Configure ExpressRoute and Virtual WAN
- Protect Open-Source Software
- 9 Ways You Should Be Using Activity Monitor to Make Your Mac Run Better
- What Happens To Developers Who Never Go Into Management?
- ‘The Cloud’ has you. Do you know what it is?
- This analog radio concealed as a minimal ornament is proof that modern tech can be one with our home interiors!
- What Is a Microsite? Real Examples & How to Create One With WordPress
- Apple’s 3 biggest losses of 2021