Tag Archives: MacOS

How to work with Java on your Mac, including having multiple versions of Java on your Mac

The easiest way to install Java on your Mac is by using homebrew. Honestly, if you don’t have homebrew on your Mac, I highly recommend you do that. Plus it’s easy to do. All you need is to enter the following:


$ /bin/bash -c “$(curl -fsSL https://raw.githubusercontent.com/Homebrew/install/HEAD/install.sh)”

Now that you have homebrew installed, you can install Java by entering:
$ brew install java

That should install the latest version of it. If you want to install an older version, you can do something like this:
$ brew install java11

If you’ve done this a few times, you may have a few different version of Java installed liked me, and if you enter the following command it may look something like this:

% ls /usr/local/opt | grep openjdk
openjdk
openjdk@11
openjdk@18
openjdk@19
openjdk@20
openjdk@21
%

As you can see, I have a few different versions installed. However, if I do this:

% java --version
openjdk 11.0.20.1 2023-08-24
OpenJDK Runtime Environment Homebrew (build 11.0.20.1+0)
OpenJDK 64-Bit Server VM Homebrew (build 11.0.20.1+0, mixed mode)
%

It shows the OS thinks I have JDK version 11 running.

Why is that? Well, it turns out if I enter this:

% ls /Library/Java/JavaVirtualMachines/
jdk1.8.0_261.jdk openjdk-11.jdk
%

I can see I have two JDKs installed there. MacOS will go with the latest JDK there when you ask what version is installed, in this case openjdk-11.

If I want the OS to use a different version like openjdk 21, I can enter this symbolic link (all one line):

sudo ln -sfn /usr/local/opt/openjdk@21/libexec/openjdk.jdk /Library/Java/JavaVirtualMachines/openjdk-21.jdk

Then when I check on things, I see the following:


% java --version
openjdk 21 2023-09-19
OpenJDK Runtime Environment Homebrew (build 21)
OpenJDK 64-Bit Server VM Homebrew (build 21, mixed mode, sharing)
% ls /Library/Java/JavaVirtualMachines/
jdk1.8.0_261.jdk openjdk-11.jdk openjdk-21.jdk
%

Now the system thinks openJDK 21 is running.

If I want to reverse this and go back to openjdk 11, I can use this unlink command and see this:

% sudo unlink /Library/Java/JavaVirtualMachines/openjdk-21.jdk
% java --version
openjdk 11.0.20.1 2023-08-24
OpenJDK Runtime Environment Homebrew (build 11.0.20.1+0)
OpenJDK 64-Bit Server VM Homebrew (build 11.0.20.1+0, mixed mode)
% ls /library/Java/JavaVirtualMachines
jdk1.8.0_261.jdk openjdk-11.jdk
berniemichalik@Bernies-MacBook-Air-4 ~ %

Normally I would recommend going with the latest and greatest version of Java on your Mac. However, you may have a situation where you have some Java code that only runs on older versions of Java. This is one way to deal with that.

For more on this, here are some good links I found:

On how I resolved my problems installing Big Sur on my MacBook Air

Mac keyboard
Recently I tried to upgrade my Mac from Catalina to Big Sur. I have done OS upgrades in the past without any problems. I assumed it would be the same with Big Sur. I was wrong.

I am not sure if the problem was with Big Sur or the state of my Mac. I do know my MacBook Air was down to less than 20 GB free.  When I tried to install Big Sur, my Mac first started complaining about that. However after I freed up more space (just above 20 GB) it proceeded with the install.

While it proceeded, it did not complete. No matter what I did, I could not get it to boot all the way up.  Recovery mode did not resolve the problem. Internet recovery mode would allow me to install Mac OS Mojave, but not Catalina or Big Sur.

Initially I tried installing Mojave, but after the install was complete, I got a circle with a line through it (not a good sign). I tried resetting NVRAM or PRAM and that helped me get further, but even as I logged in, I could not get the MacOS to fully boot up (it just went back to the login).

Eventually I did the following:

  1. Bought a 256 GB flash drive. Mine was from Kingston. I bought a size that matched my drive. I could have gotten away with a smaller one, but I was tired and didn’t want to risk not having enough space to use it as a backup.
  2. Put the flash drive into the Mac (I had a dongle to connect regular USB to USB-C)
  3. Booted up the mac by going into Internet recovery mode
  4. Went into disk utilities and made sure my Macintosh HD, Macintosh HD – Data and KINGSTON drive were mounted. (I used the MOUNT button to mount them if they weren’t mounted).
  5. Ran FIRST AID on all disks.
  6. Left Disk Utility. Clicked on Utilities > Terminal
  7. Copied my most important files from Macintosh HD – DATA to KINGSTON (both of them could be found in the directory /Volumes. For example, /Volumes/KINGSTON.)  The files I wanted to backup were in /Volumes/Macintosh*DATA/Users/bernie/Documents (I think).
  8. Once I copied the files onto the USB Drive — it took hours —  I checked to make sure they were there.  I then got rid of a lot more files from the Documents area on my hard drive. After careful deleting, I had about 50 GB free. At one point I was talking to AppleCare and the support person said: yeah, you need a lot more than 20 GB of free space. So I made a lot.
  9. Then I went back into Disk Utility and erased Macintosh HD
  10. This is important: I DID NOT ERASE Macintosh HD – DATA! Note: before you erase any drive using the Disk Utility, pursue other options, like contacting AppleCare.  I did not erase Macintosh HD – DATA in order to save time later on recovering files. I was only going to erase it as a very last resort. It turns out I was ok with not erasing it. The problem were all on the Macintosh HD volume, the volume I DID erase.)
  11. Once I did that, I shut down and then came up in Internet Recovery Mode again. THIS TIME, I had the option of installing Big Sur (not Mojave). I installed Big Sur. It created a new userid for me: it didn’t recognize my old one.
  12. I was able to login this time and get the typical desk top. So that was all good.
  13. Now here is the interesting part: my computer now had two Macintosh HD – Data drives: an old one and a new one. What I did was shutdown and go into Internet Recovery Mode again and mounted both drives. I also mounted the KINGSTON USB drive. Then I moved files from the old Macintosh HD – Data to the new one. (You can use the mv command in Terminal. I did, plus I also did cp -R for recursive copying).
  14. My Mac is now recovered. Kinda. I mean, there are all sort of browser stuff that needed to be recovered. I had to reinstall all my favorite apps. Etc. But it is a working MacBook.

All in all, I learned a ton when it comes to recovering a Mac. If you are reading this because your Mac is in a similar situation, I wish you success.

While I was trying to do the repair, these links were helpful:

(Photo by Charles Deluvio on Unsplash)

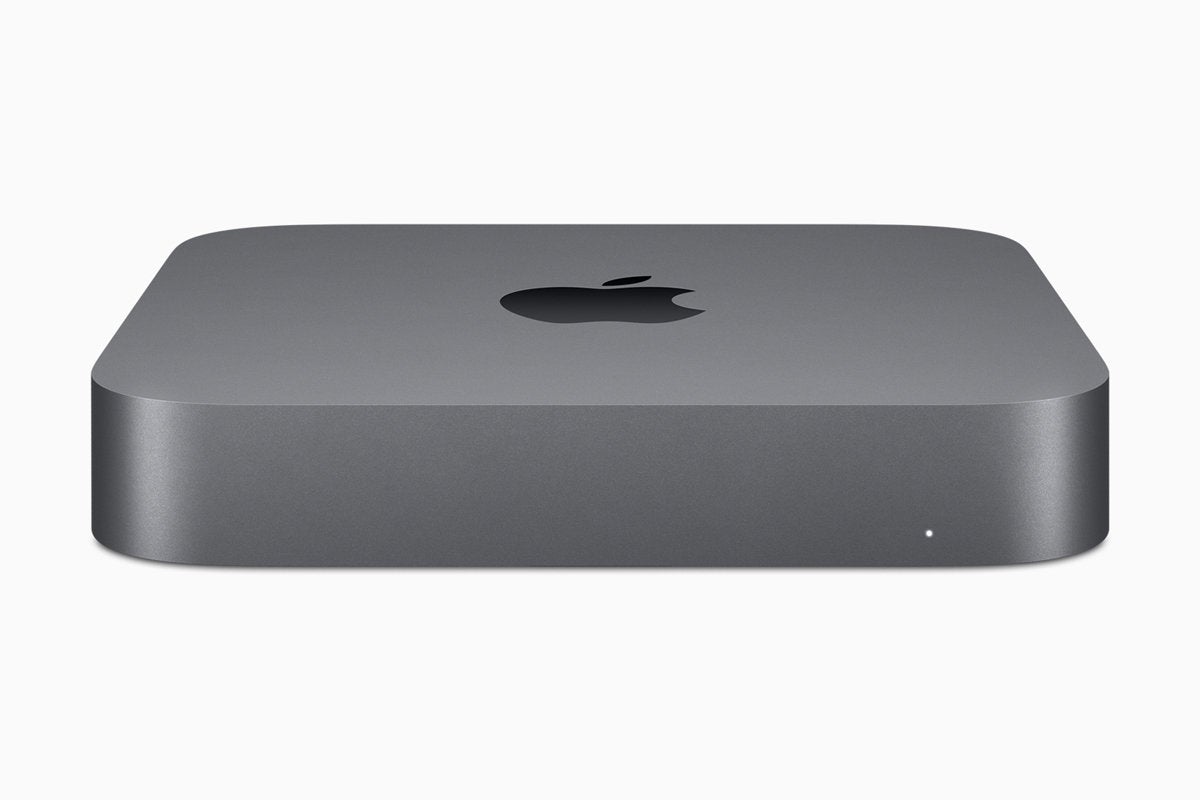
Need a temporary Mac? Now with AWS, you can get one!

How? By using their cloud service: AWS brings the Mac mini to its cloud.

Perfect for those times you need access to a Mac for a short period of time (e.g. testing software).

Throughout my career I have been involved with Macs and cloud technology. I remember when Apple made Mac servers. There was even a separate MacOS for them. So I am loving this evolution and the repositioning of Macs in a data center.

Image from here which also has a write up on this.


Quote

Truly great MacOS apps for working remotely

I’m often disappointed by lists of software that supposedly help me work better. This is not one of those lists. I think the tools here are really great, and anyone with a Mac that works remotely should definitely check out this:  These Are the 8 Best MacOS Apps for Working Remotely | Inc.com

A great little tutorial on MySQL that covers Windows, Mac OS X, and Ubuntu (Linux)…

…can be found at this link:

MySQL Tutorial – How to Install MySQL 5 (on Windows, Mac OS X, Ubuntu) and Get Started with SQL.

Even if you don’t know hardly anything about SQL or databases, you will find this helpful. It covers pretty much everything you need to know to get started, and it’s a great cheat sheet for people who have more experience but need to know a command format or get some other quick guidance.

Recommended.

P.S. It specifies Ubuntu, but if you are using other distros like CentOS you should still find it helpful.